skip to main |
skip to sidebar
The November 2009 issue of Wired Magazine (a favorite of mine) featured this wonderful color wheel from David McCandless - it represents the history of "in" fashion colors from 2002 - 2010; the fall colors are on the inside, spring on the outside. An absolutely brilliant way to visualize color trends. The color wheel is an excerpt from David's book - The Visual Miscellaneum - I've added it to my wish list. Take a look at his link for more snipplets from the book - I think you might be interested as well.
As quilters we can learn a lot from how other artists work with color. All too often quilters fall hostage to fabric designers who create lines of fabric in a very narrow color palette that doesn't play well with other fabrics in terms of color. But, if you allow yourself the luxury to really look at unique color combinations you can break away from the solitary "designer fabric line" mentality and get really creative with a color palette all your own.
Looking at the spring 2010 "in" colors I can wholeheartedly assure you I am "out" - today I'm wearing colors from the 2002 fall "in" colors - and back then even what I am wearing today would not have been considered "in style".
I am the challenge host this time around in my art quilt group - Layers: Art in Stitches. It's a lot of pressure. According to challenge lore the host is plagued by a creative block - oh no!
This it the cover of my challenge rules book - any guesses? This challenge is all about birds. Interested in the rules - click here to learn all about them. Why birds, why so specific - - - I wanted to have a cohesive theme so that when we exhibit our pieces it looks like we're all on the same page - like we all participated in the same challenge - - - and, I love birds. As far as I can tell by the catalog pages of all of the home decorating stores, I'm not alone - this is undeniably the year of the bird.
  Oh, if only coming up with a challenge entry were as easy as pushing the "Insert Bird Quilt Here" button. I have less than a month to start, and finish, this piece - yes, I'm behind - but I work best under pressure. I've got ideas and have started to sketch my design. With confidence I can say that I will be in construction by the weekend - one glitch - I need PFD fabric so I can paint my background - I have it on order at Quilters Palette - should be in any day.
  One interesting twist to my challenge rules is that all entries must be on 24 x 28 inch stretcher frames - I think non-quilters are more receptive to quilted works when they are framed. I'll be blogging about my stretching efforts when I get to that stage in construction.
We had a great dinner tonight - simple and fast. It's uncharacteristically HOT here in Pennsylvania so I fired up the grill for some very simple teriyaki marinated boneless, skinless chicken thighs - I love this bottled sauce - their barbecue sauce is excellent as well.
 I made 2 side dishes, both out to the April 2010 Martha Stewart "Everyday Food" - I tried to link to the recipes but they are not posted on her site yet. This issue of Everyday Food has many great recipes - it's worth picking up.
Mangoes are in season now so I made the Mango Relish (paired with fish in the magazine) - it was delicious and refreshing with mango, cucumbers, basil and lime.  I had beautiful trumpet mushrooms on hand from my local growers' market so I made the Crispy Rice with Mushrooms and Carrots - it was quite spicy but yummy just the same - if you don't like a lot of heat, cut down on the Sriracha sauce. I used brown rice instead of white rice.
Two quick photos - meet one of my magnolias - isn't she gorgeous? There's a vintage tablecloth in my mother's cedar chest with my name on it - magnolias on a gray background - I just love the color combination of the pinks and gray!
 The tree is magnificent - it must be at least 60 years old - you only get a show like this when the weather cooperates. By the weekend all of those blossoms will need to be raked up - that's my job.
Have a beautiful day - and don't eat too many chocolate Easter eggs!
It was such a beautiful day here in Chester County I decided to sit by the pool and crochet. Later in the afternoon I walked through the meadow picking wildflowers.
 And tonight - dinner with friends in my new ensemble. Believe that and I'll tell you another! These photos are courtesy of the 1974 Spring / Summer issue of McCall's Needlework and Crafts - my sister-in-law spotted them at a sale and picked them up for me. Did anyone really wear these creations? I promise to share more photos - there are so many I think you'd like.
  Tomorrow's Easter and my assignment is dessert - I'm making a rhubarb pie out of Rose Levy Beranbaum's "The Pie and Pastry Bible", but you can get the recipe on line at Fine Cooking's site. Rose's recipes are fantastic - she is a food chemist and her recipes reflect that. I'm proud to say I baked every recipe in her "Cake Bible" years ago - ... obsessive, me?
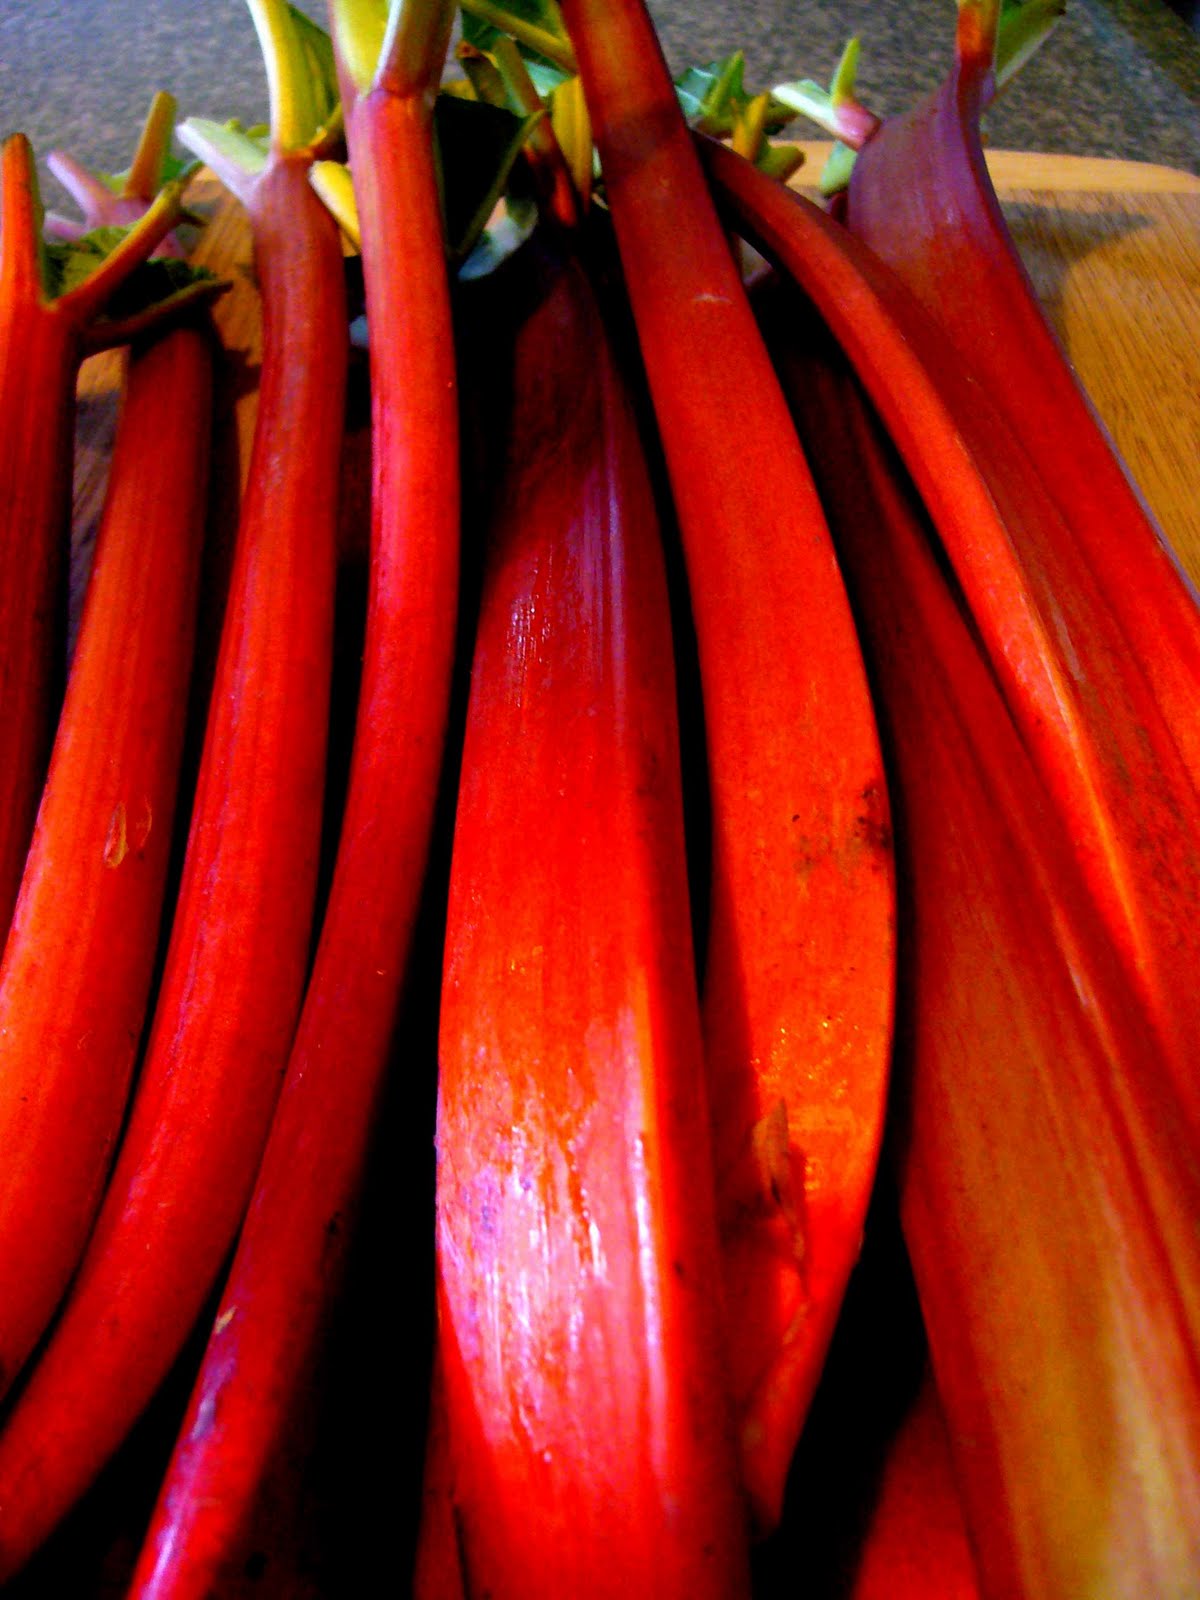
 I grow rhubarb, but it's too early for local crops. Rhubarb is really a vegetable - it looks a lot like red celery - I love the deep red rhubarb - it makes a prettier pie and has a tarter flavor than the greener varieties. The leaves of the rhubarb plant are poisonous - they are extremely high in oxalic acid - therefore store-bought rhubarb is never sold with the leaves in tact. Rhubarb can be a touchy pie ingredient - it gives up a lot of moisture - I'll admit to making many a rhubarb pie that was sloshing around after the allotted baking time.
  Follow Rose's recipe to the T - she knows what she is talking about. Freeze the cubed butter and dry ingredients - it makes a difference.
 Weigh all of the ingredients - baking is a science - chemistry. A cup of flour will weigh differently based on the moisture in the air.
I love to make pies, and I love to make pie dough - give it a try - it couldn't be easier. This is a recipe for a cream cheese crust and uses a food processor to mix the ingredients - I typically make my pate brisee by hand, but I'm willing to follow Rose's recipes as written. Look how beautifully the dough came together and how easy it was to roll out. I swear by my stainless steel rolling pin - I've had it about 20 years.  Here's a close up of the dough - see all of the lighter colored flecks - that's butter - this dough is going to be very flaky!
 When I was in college I worked in the school's bakery a few days a week - I had to be there by 4:00 AM - cut into my party scene if you know what I mean. They always assigned me to making the turnovers - I'd have to roll out huge hunks of dough into giant rectangles and then cut them into squares and slop some filling into the center and fold. My dough rolling was so bad, all of the old men who worked in the bakery spent the morning ridiculing my attempts. I'm happy to say, I've definitely improved - so there - wish they could see me now!
 This pie has a lattice topping - this is my Grandmother's pastry jagger - you use it to get that beautiful zig-zag edge to the lattice strips. Quilters - we're pro's at this - it's rotary cutting!
 Keeping with the fiber theme - we're also great at weaving, so a lattice top is no challenge for us!
 Didn't they turn out beautiful?
 I grew up in a very Pennsylvania German household. My mother is an excellent baker - if there was leftover pie dough she would make a milk flitche (or milk flabby) - as kids we lived for the milk flitche. What's a milk flitche - it's what we PA Germans live for - butter and starch. Here's a recipe I found on line if you want to give it a try - to me, it's the ultimate comfort food.
  Creamy, gooey butter-y goodness.
Last night I made a delicious dinner - Pad Thai accompanied by a Cucumber Pineapple Salad - it was light and flavorful - perfect for a warm weather evening.
The recipe for the pad Thai came from the back of the pad Thai noodle bag, it's a classic preparation, Americanized - pad Thai noodles are sometimes called rice stick noodles. You can find them in the Asia food section of most groceries. This recipe is Americanized as it calls for regular shrimp, readily available - authentic Thai recipes will call for dried shrimp - not as readily available.
 The recipe calls for two ingredients you may not be familiar with - Asian Fish Sauce and Tamarind Paste - these are the flavors that make Pad Thai, Pad Thai - without them there is no flavor profile.
1. Asian fish sauce is a fermented fish sauce - and despite it's smell which is strong and slightly offensive, used in the proper quantity, it is the backbone of the flavor of Pad Thai.
2.Tamarind Paste is made from the pod of a tamarind tree, grown in Africa. It is very tart, and in this recipe is balanced with brown sugar. It can add a lovely dimension to many dishes.
Pad Thai
7 oz. Pad Thai noodles (soaked in cold water for 30 minutes, drained)
1 Tbsp. tamarind paste
1 tsp. brown sugar
1/4 c. vegetable oil
4 cloves of garlic, minced
1/3 cup shrimp (I used more, about 1/2 pound)
3 scallions, chopped
4 oz. firm tofu, drained, rinsed, cubed
2 eggs, beaten lightly
2 Tbsp. fish sauce
1 c. bean sprouts, rinsed
1 tsp. crushed chili pepper
2 Tbsp. chopped peanuts
1/4 c. cilantro, chopped
1 lime, cut into wedges
In a small bowl mix the tamarind paste with 1/4 cup hot water, press through a strainer, add the brown sugar to the strained liquid, discard the solids.
In a large skillet heat 2 Tbsp. oil, add the garlic and cook for 30 seconds, add the shrimp, onions and tofu and cook for about 3 minutes until shrimp are opaque.
 Add eggs and cook about 30 seconds. Add noodles, tamarind mixture, 2 Tbsp. oil and fish sauce. Cook about 5 minutes, add bean sprouts and chili flakes, toss to combine.
Place noodles on a serving dish and top with peanuts and cilantro - garnish with lime wedges.
 As a side dish I made a refreshing salad - Asian Inspired Cucumber and Pineapple Salad - this is so easy. I purchased a whole pineapple - so much more cost effective than purchasing the pre-cut pineapple. How can you tell if a pineapple is ripe - best way - smell it, specifically the base of it - it should smell sweet and feel heavy for it's size. A ripe pineapple will have a yellowing base.
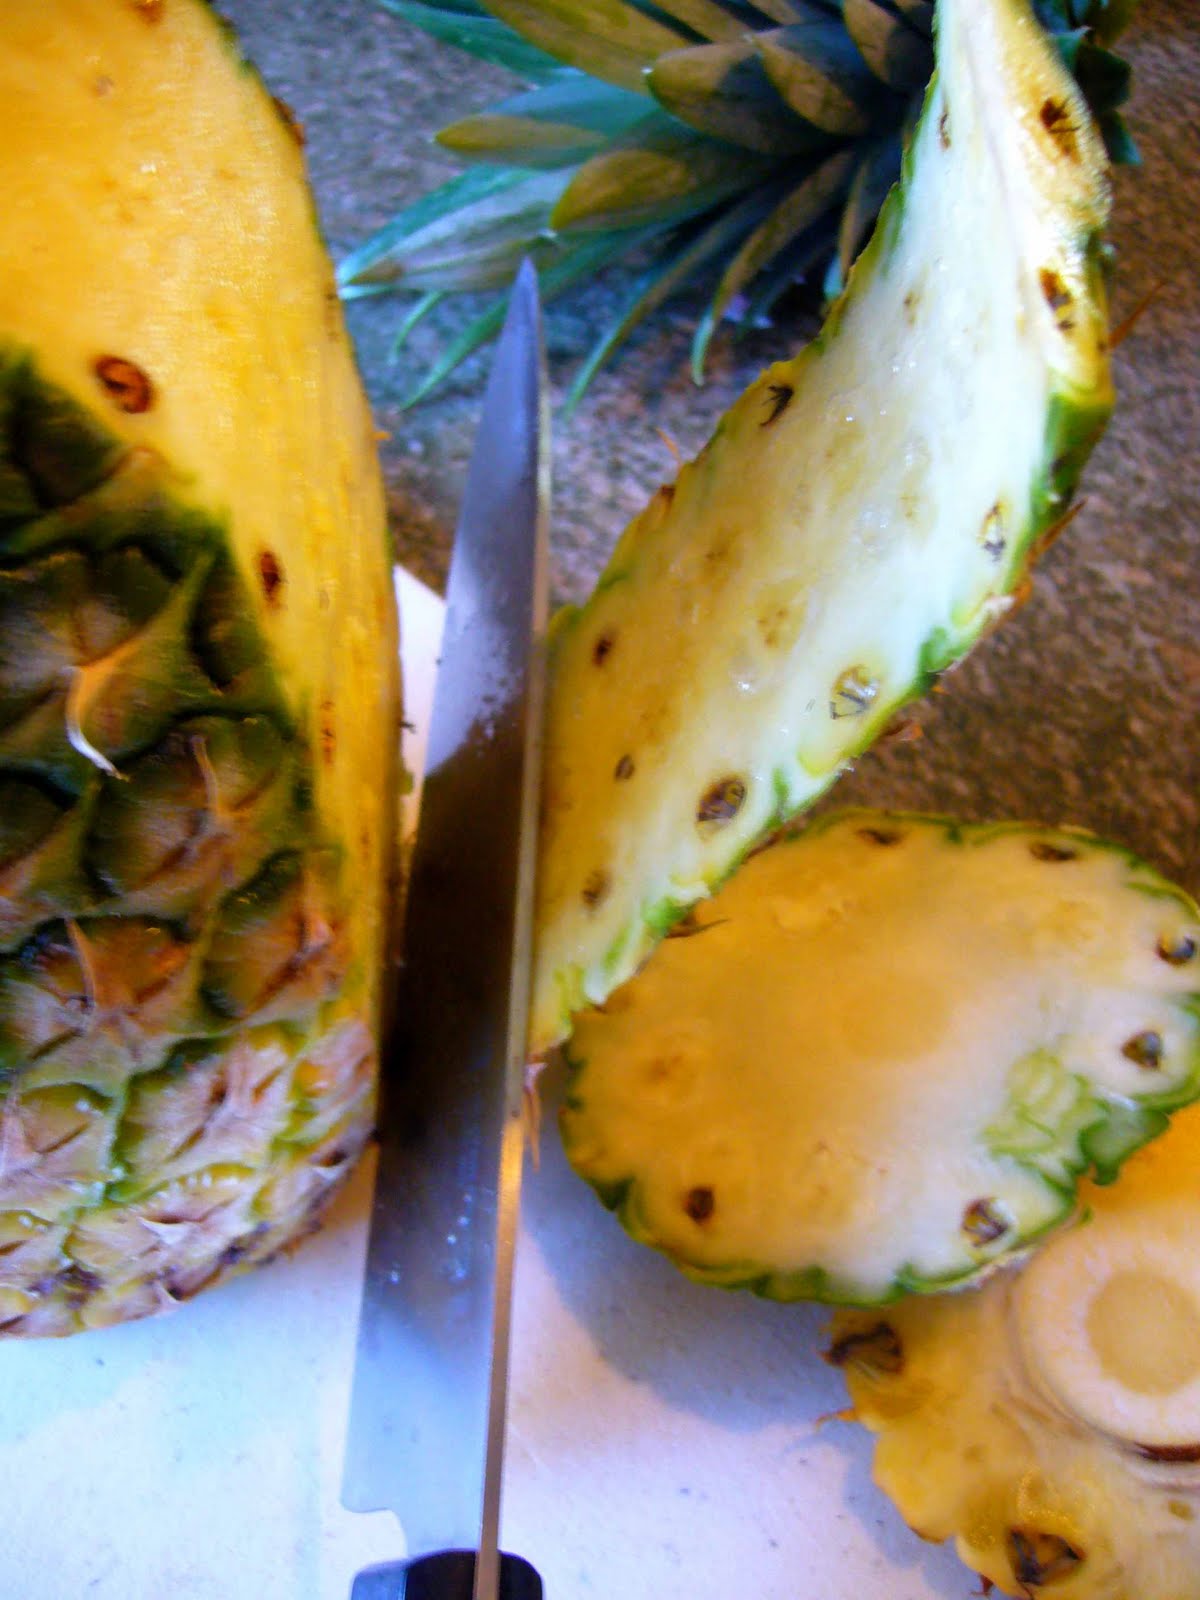
 Cutting up a pineapple is easy - no special equipment required other than a sharp knife. First remove the greenery by simply twisting it off.
 Slice off the top and bottom so you have a flat surface to work with - don't want to cut yourself with an unruly pineapple.

Now remove the outside of the pineapple - using a sharp knife, peel about a quarter inch off as shown below, working your way around the pineapple. You want to be certain you have removed the pineapple's eyes - they have sharp thingies that you definitely don't want in your dish.

Now divide the pineapple into quarters and remove the center fibrous core from pineapple quarters.

Slice the pineapple as desired.
 One whole pineapple cost $1.97 and yielded 2 quarts of fruit; one pre-cut quart of pineapple at my grocery cost over $4 - you do the math.
 Here's a finished photo of the refreshing salad - yum! Perfect accompaniment to the pad Thai. Enjoy!
 Photo Finish - I snapped this shot yesterday. It looks like a giant bird's nest that has fallen out of the tree. Whoever is creating this is on a mission - it's been growing for years. I assume that every twig that has ever fallen in his yard has been stacked around the base of this tree. Ahhhh, the year of the bird!
It was a fun day yesterday - a field trip with my Layers group to Longwood Gardens - so inspiring - every flower gives you new quilting ideas. I'll admit, I don't know the name of all of these beautiful flowers, sorry. I've grown this in my flower garden in the past - love the spooned petals. Welcome spring! Ahhh, isn't nature perfect!  We were greeted by an amazing show of delphiniums - they are so majestic.
 I tried for years to grow delphiniums in my flower beds, but I've had no luck with them - finally gave up. Very few flowers have the variety of blues that this plant offers up.
 The buds are so architectural - as interesting as the flowers.
 There were many flowers at the gardens, but the day was all about orchids - this is the final week of the orchid exhibit. Look at this beautiful cascading orchid in the conservatory.
 For lack of a better name - orchid specimen A - the contrast of the buttery yellow with the plum is delicious, add the ruffle to fancy things up.
 Orchid specimen B - tangerine and magenta - every orchid is so different.
 Orchid specimen C - pink on parade - so feminine. I have are so many more photos - I'll share a few more later this week.
  After the trip to Longwood we met at Terry's for show and tell. My friend Kelly talked me into purchasing pinch purse hardware at the Lancaster AQS Quilt Show last week - it was our goal to have one for S&T - mine is the one on the left, Kelly's on the right. Check out the Pink Penguin for directions. I added a ribbon tab using the knitting ribbon I purchased at the show.
 Kelly's fabric selection has a lot of contrast - love it! BTW - I'm trying to talk Kelly into starting her own blog - she has such great ideas - encourage her please.
 I used a vintage home dec fabric as my main fabric and an old Lonni Rossi Typo fabric as my contrasting fabric. Here you can see inside of mine - the opening is 4 inches (the pattern calls for a 5 inch pinch purse hardware - ours was only 4), and the length is 5 inches.
  Already found a home for mine - I'm using it to stow my knitting notions in my knitting bag - it fits my scissors, needle container, row counter and my Pinocchio tape measure perfectly. How do you like the knitting bag - it's an Amy Butler pattern - the Madison Bag. I used a piece of my vintage barkcloth to make the bag - confession - I collect vintage barkcloth, can't stop myself. And yes, that's a brooch from my husband's Great Aunt Amy adorning the front of the bag.
 OMG - this is my friend Christine - her S&T included a spoof on my method for containing my binding as I iron it - if you remember, I use my spray starch container and roll the binding onto it as I iron it. Spoof or not Christine - I think your method has a lot of merit, despite how ridiculous it, and you, looks. She's wound it around a paper roll and made a necklace out of it - - - I really think this would work great - opinions???

 The color wheel is an excerpt from David's book - The Visual Miscellaneum - I've added it to my wish list. Take a look at his link for more snipplets from the book - I think you might be interested as well.











 Posts
Posts